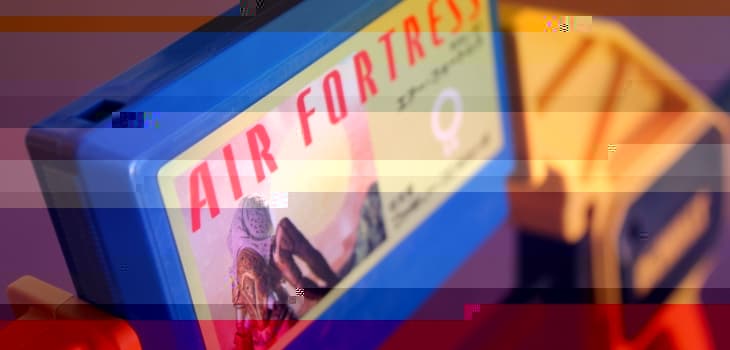
When I realized I could play Japanese Famicom (and Super Famicom) games, I was pretty jazzed. But I had already figured out how important it is to thoroughly clean the contacts on my games. If I don’t, they don’t always work consistently, and might gunk my console cartridge slot. So as soon as I got a look at the Famicom cartridge case - no screws - I realized I had a challenge on my hands.
How do I open a Famicom game cartridge, since it has no screws? It’s important to open retro game cartridges to clean the contacts thoroughly, so the game works consistently. The way to open a Famicom game is using a trigger clamp to temporarily bend the housing and release the inner clips.
Table of Contents
I’ve written posts on multiple ways to play Famicom Games, as well as several ways to play to play Super Famicom games. There’s also an in-depth post on the best way to clean your NES games - from basic, to getting medieval. This post is focused on working with the Japanese side of things, and opening Famicom and Super Famicom games. Once you have it open, you can follow the same methods on the cleaning NES cartridges post.
Opening Super Famicom games is very straightforward if you have the proper tool. Jump to that section to see what you need and how to do it.
Otherwise, it’s time to get that Famicom cartridge open...
The key to this is that you will get the front face of the Famicom cart in the clamp, and ease some pressure onto it until it temporarily bends the plastic enough to release the clips inside the housing that hold the front and back together.
What You Need to Open a Famicom Cartridge
- You need a trigger clamp that is large enough to work with your Famicom cartridge
- I bought the DeWalt 12" Large Trigger Clamp (DWHT83193)
- The slightly smaller DeWalt 12" Medium Trigger Clamp (DWHT83140) should be good, too
You need a trigger clamp of some kind that is large enough to accommodate your Famicom cartridge. This means that the clamp’s bar is long enough to let you open the clamp and get the full width of the cartridge in it. The throat depth measurement is not so important, because you will be orienting the cartridge in a way that doesn’t require any real depth.

If you look at the other sizes DeWalt has, the two clamps with 6" bars (the amount of bar that hangs out when the clamp is closed) provide plenty of length. You might even be able to just get away with their 4.5" bar (since the Famicom cartridge is slightly narrower than that). Keep in mind though, that while these clamps are cheaper, they are quite a bit smaller as well, and produce less force from your effort.
I bought my trigger clamp at Home Depot, and so was able to see and feel them all to compare. I liked the beefier, overkill 12" clamp, since it felt very good in my hand, is a lot larger overall, and provides more force. I wanted to comfortably and easily squeeze and get the pressure I needed without any wobbliness or fuss. This kind of control comes naturally when using a larger tool, and using a much smaller percentage of the force it’s able to produce. That control is important in making sure things go the way you want them to. I recommend you take a look at your clamp options in person as well, in order to get a real feel for it.
Open the Famicom Cartridge With a Trigger Clamp
On my trigger clamp (the 12" DeWalt listed above), I removed the black “pads” that cover the business ends of the two clamp pincers. This is because I wanted more precision when clamping the slim edge on the front part of the cartridge housing. You have to get it just right, since you only want to squeeze the front part of the cartridge. The pincers can’t cross the seam between the front and back pieces.
First, squeeze the release (the black metal “trigger” hanging down between the two pincers), and open the gap enough to get your Famicom cart in width-wise. Then use the big black plastic “trigger” handle to squeeze a few times and snug the gap up more to the cartridge.

Be patient here, since you have to balance a few things. Hold the cartridge at a 90° angle to the pincers so the top edge of each just snugs onto the slim edge of the cartridge front (the side with the label). You need to do it with the mouth of the cartridge facing you. You’ll see that this area is nice and flat, as opposed to the other side which has a grippy part on it for pulling the cartridge out of the console.
The trickiest bit is getting that slim bit of edge griped on both sides at the same time, while making sure the end of the pincer does not touch the seam (or you will squeeze both front and back, and it won’t open!). Take your time, and carefully snug the pincers in with the big plastic trigger. It’s very likely you may need to squeeze the clamp release, back it off a bit, and try again. No problem - I always have to do this.

Once you have it properly snugged, sloooooowly squeeze the big trigger to tighten the clamp, making sure the cartridge stays in place. This will begin to temporarily bend the front portion of the cartridge, while the back part stays flat. The effect is that it pops the inner hooked clips out from their spots, and the two halves are no longer locked together. You should hear a pronounced “pop” as the clips come free. Continue to squeeze, until you get some separation between the halves as seen above.

Use your free hand to separate the front and back of the cartridge. Make sure the board doesn’t drop out while you are doing this. Once it’s open, you can remove the board from its spot, making sure to note if it is chips-up or chips-down in the case front when you take it out. This is important for replacing it later, but you’ll see that you can’t really put it in the wrong way up, since the case is molded to prevent that.
Now follow the steps presented in Level 2 of the the cartridge cleaning post.
Close the Famicom Cartridge Case
Once you have finished thoroughly cleaning your cartridge contacts, the first step in reassembling the game is to place the board back into the case in the proper spot.

Put the Famicom cartridge case front face-down in front of you. Take the board, and place it into the molded spot, either chips-up or chips-down, based on which way it was when you opened it. If you’re not sure, no worries, since it’s molded to not accommodate it the wrong way up.

To reassemble the case, hook the spine edge of the cartridge case back (the side opposite the cartridge mouth) onto the clips in the same spot of the cartridge front (that now has the board laying in it). Do this with the back angled up, and then swing it down like a door on a hinge to bring the mouth side together.

Now bring the thumb and forefinger of each hand together at the clips on each side by the “shoulder” of the cart case, and squeeze. You should hear a “pop” as the clips re-engage. If it doesn’t fully close for you, you can use the trigger clamp to squeeze it the last bit. Just be sure that it is all aligned properly, and that the failure to close is not the result of something not going together properly.
There, you’re all done. A bit fussier than just using screws, but completely doable. If you were able to do this successfully, you might consider doing some console repairs as well. It’s not all that hard. You just need the right know-how and tools, plus a little confidence.
What You Need to Open a Super Famicom Cartridge
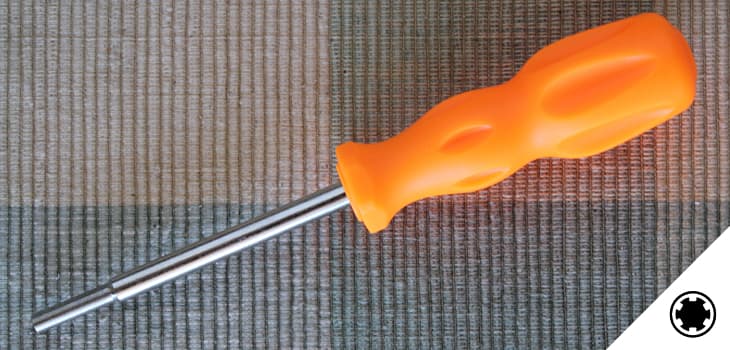
- 3.8mm Game Bit, or “Nintendo Tri-Wing” Screwdriver
Super Famicom cartridges are much easier to open, using just a game bit screwdriver. You can buy an individual screwdriver, a bit (do NOT use an electric screw gun!), or a screwdriver set. I bought an inexpensive set of tools on Amazon that included both sizes, along with a number of other useful tools.

Open the Super Famicom Cartridge With a Game Bit
Grab your 3.8mm game bit driver (the smaller size Nintendo uses - compared to the 4.5mm), and place the tip onto one of the two screws on the front of your Super Famicom cartridge. Turn slowly while pressing firmly, so that you make sure the driver engages properly with the game bit head on the screw. These are small, and you don’t want to strip the screw heads.

Back out both screws, and remove the front of the cartridge case. You now have access to the board, and can remove it for Level 2 cleaning as described in the post about cartridge cleaning.
Closing the Super Famicom Game Cartridge
When you are finished cleaning the game board contacts, reassembling the cartridge is very straightforward.

Replace the board back into the cartridge shell back, making sure it puzzle-fits back into the molded guides, which are designed to take it chips-down. Align the spine edge of the cartridge front with the same on the back, making sure the hooked clips on the front slot into the corresponding openings on the case back. Once aligned, swing the front down to close. Continue to press the top toward the spine edge as you do, in order to make sure the clips seat properly. When closed properly, the screw holes align. When everything is together flush, replace the game bit screws and carefully screw them back in.